Beyond the Blank Template: 5 Advanced Photoshop Techniques to Transform Any Mockup
Transform Any Mockup into a Realistic, Professional Design

Designers often face a common frustration: blank templates that appear dull and fail to showcase their creativity effectively. Many mockups just feel flat, generic, and uninspiring, leaving your designs struggling to stand out.
But what if you could go beyond the blank template and make every mockup pop with life? That’s where advanced Photoshop techniques come into play. With the right skills, you can turn any plain template into a professional mockup design that not only impresses clients but also communicates your vision clearly.
In this post, we’ll explore 5 advanced Photoshop mockup techniques that help your designs look polished, realistic, and ready for presentation. From creating shadows that add depth to applying textures that make elements feel tangible, these methods transform ordinary designs into realistic mockups in Photoshop. Each technique is crafted to save time, boost efficiency, and give you the confidence to deliver stunning results—even under tight deadlines.
Imagine presenting a design where every detail feels intentional: the lighting, the shadows, the textures, and the layout all working together. That’s the power of mastering these Photoshop mockup techniques. You’ll learn how to create mockups that not only showcase your creativity but also reinforce branding, engage your audience, and elevate your overall workflow.


By the end of this guide, you’ll have the tools and knowledge to move beyond basic templates and deliver mockups that look professional, realistic, and eye-catching.
Whether you’re a UI/UX designer, graphic designer, or digital marketer, these techniques will help you work smarter and impress anyone who sees your designs. So, let’s dive in and discover how to transform any mockup from ordinary to extraordinary using advanced Photoshop techniques.
Harness the Power of Smart Objects
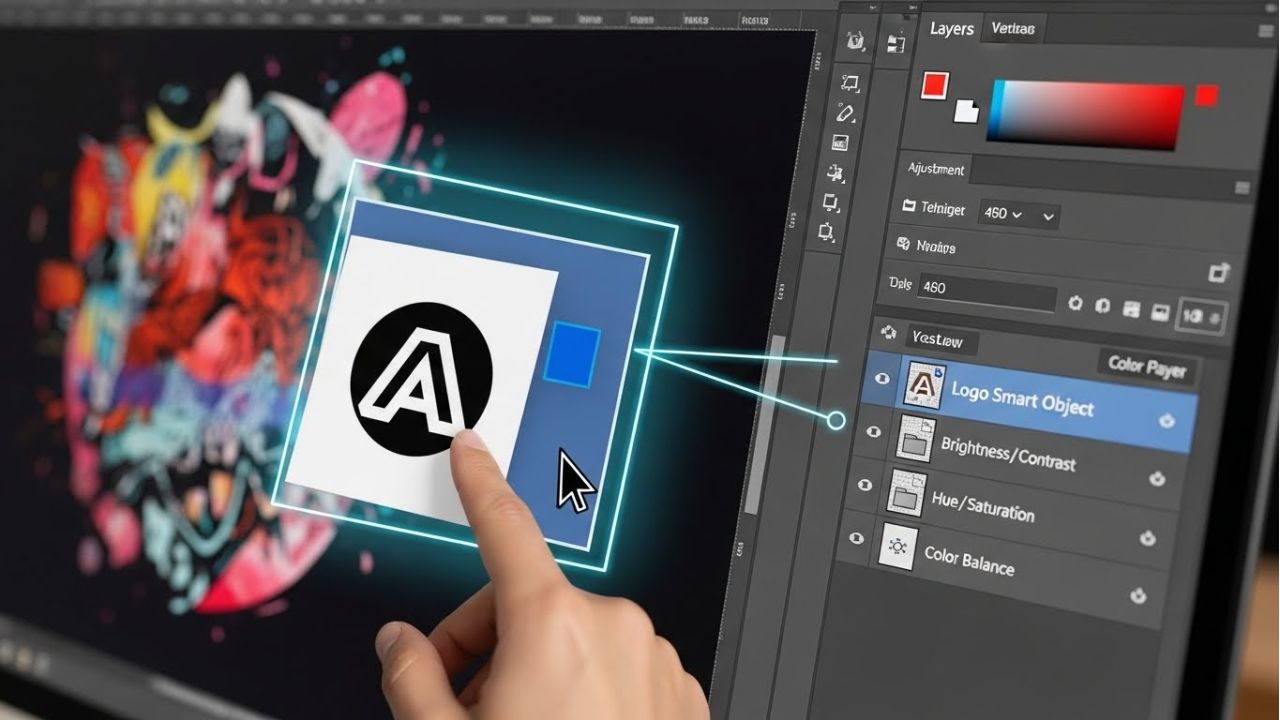
When it comes to Photoshop mockup techniques, one of the most powerful tools you can use is smart objects. But what exactly are they? In simple terms, smart objects are layers that contain image data from raster or vector files, allowing you to make changes without permanently altering the original content. This is why they are essential for creating realistic mockups in Photoshop.
The biggest advantage of using Photoshop smart objects is flexibility. You can resize, transform, or apply effects to your layers without losing quality. This means you can experiment freely and adjust your mockups as much as you want. Plus, they enable non-destructive editing in Photoshop, so your original designs remain safe while you try different styles, shadows, or textures.
Integrating smart objects into your Photoshop design workflow also speeds up complex mockup creation. For example, if you’re designing a series of product mockups, you can update the content inside a smart object once, and it automatically reflects across all your designs. This not only saves time but also keeps your mockups consistent and professional.
By mastering smart objects, you gain control, flexibility, and efficiency in your design process. They allow you to work smarter, not harder, making it easier to transform basic templates into polished, professional mockup designs. Whether you’re resizing, editing, or experimenting with effects, smart objects are a must-have tool in every designer’s toolkit.
See Also: 95+ Free T-Shirt Mockup & Psd Design Templates
Create Realistic Shadows and Lighting
One of the easiest ways to make any mockup look professional is by adding realistic shadows and lighting. Shadows and highlights give your designs depth, dimension, and a sense of realism, turning flat templates into eye-catching presentations. Without them, even the most creative mockup can appear lifeless.
To start, begin with step-by-step shadow placement. First, identify the light source in your scene. Then, create a new layer beneath your object for the shadow. Use a soft brush with low opacity to gently paint the shadow. Next, adjust the blur and opacity to make it look natural. Similarly, add highlights where the light hits your object to enhance depth and realism.
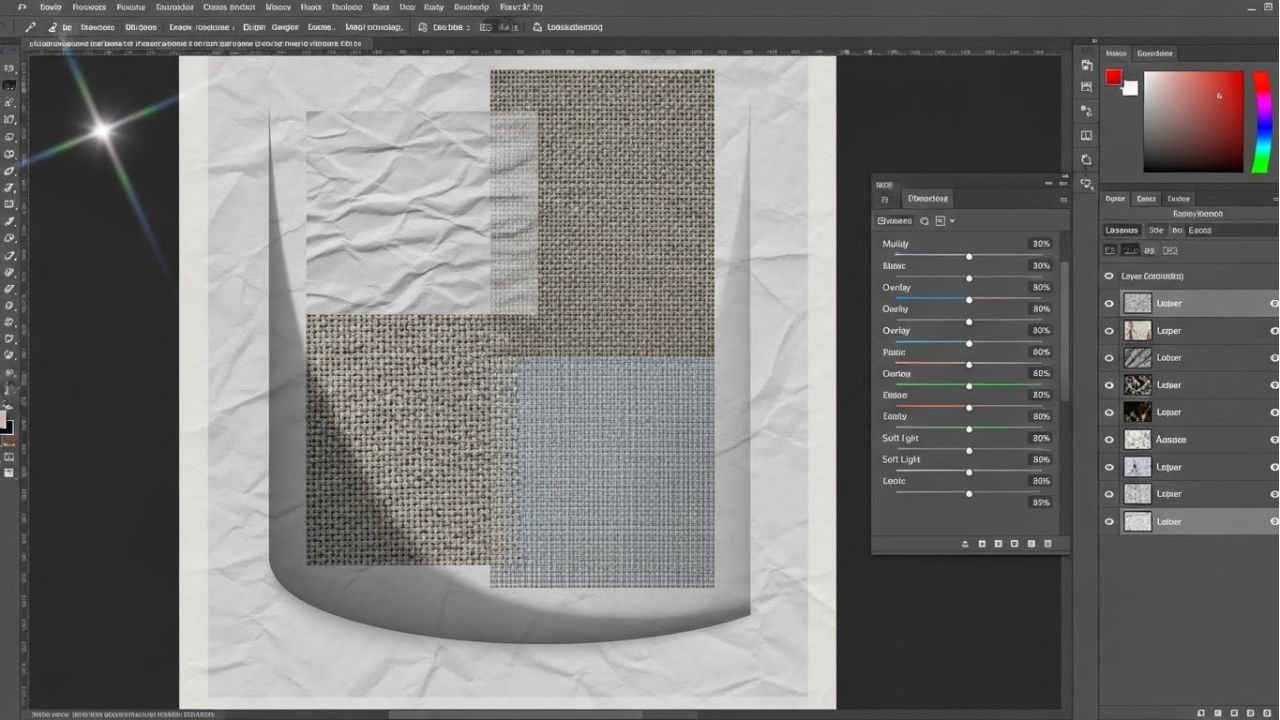
Using Photoshop layer styles and blending modes takes shadows and lighting to the next level. For example, the Multiply blending mode can make shadows richer, while Overlay or Soft Light modes enhance highlights without flattening your design. You can even combine multiple layers and adjust transparency to mimic real-world lighting effects.
By mastering these shadow and lighting effects in Photoshop, you can make any template feel alive and professional. These techniques help your mockups stand out in client presentations, portfolios, or social media posts. Plus, they integrate seamlessly with other Photoshop mockup techniques, like smart objects or texture overlays, making your workflow efficient and flexible.
Adding realistic shadows and lighting isn’t just about looks—it’s about creating visual stories. With practice, you’ll turn basic templates into polished, high-quality mockups that capture attention and impress anyone who sees them.
Apply Texture Overlays for Depth
Adding texture overlays is a simple yet powerful way to make your mockups feel real and tangible. Textures give your designs depth and visual interest, helping them stand out from flat, generic templates. By using textures, you can simulate materials like paper, fabric, or even digital screens, making your mockups look more professional and engaging.
There are many types of textures you can apply. Paper textures add a subtle, classic feel perfect for print designs. Fabric textures bring warmth and tactile appeal, ideal for fashion or lifestyle mockups. Digital screen textures create realism for app or UI presentations, making your designs appear as if they exist in the real world.
To apply textures effectively, always use non-destructive editing in Photoshop. This means keeping your original design intact while experimenting with texture overlays. Start by placing the texture on a new layer above your mockup. Then, change the blending mode to Overlay, Soft Light, or Multiply, depending on the effect you want. Adjust opacity to keep the texture subtle and natural. You can also use layer masks to apply textures only where needed.
By mastering texture overlays in Photoshop, you can elevate even the simplest mockup into a realistic mockup in Photoshop that grabs attention. Textures add character, depth, and professionalism, making your designs look polished and ready for client presentations or marketing campaigns.
With a little practice, combining textures with smart objects, shadows, and lighting effects will help you create mockups that are both creative and visually stunning, taking your Photoshop skills to the next level.
Customize Templates for Branding Consistency
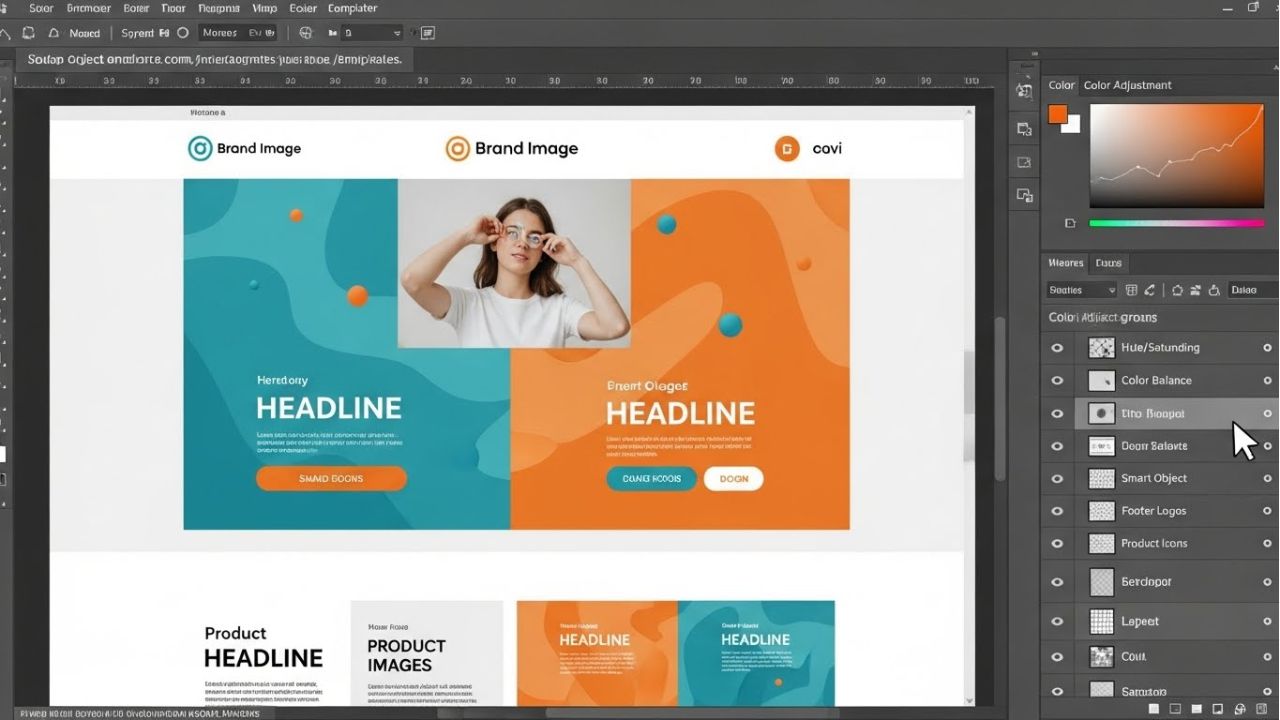
Creating a professional mockup design isn’t just about making it look good—it’s about ensuring it reflects your brand identity. A mockup that aligns with your brand communicates professionalism, builds recognition, and leaves a lasting impression. That’s why learning how to customize mockup templates in Photoshop is essential for any designer.
Start by adjusting colors to match your brand palette. Use the exact shades your company or client uses, and apply them consistently across your mockup. Next, focus on typography. Choose fonts that reflect the brand’s tone—modern, playful, elegant, or bold.
Typography plays a huge role in how your audience perceives your design. Finally, make sure your logos and icons are placed correctly and scaled properly. Even small misalignments can reduce the impact of your mockup.
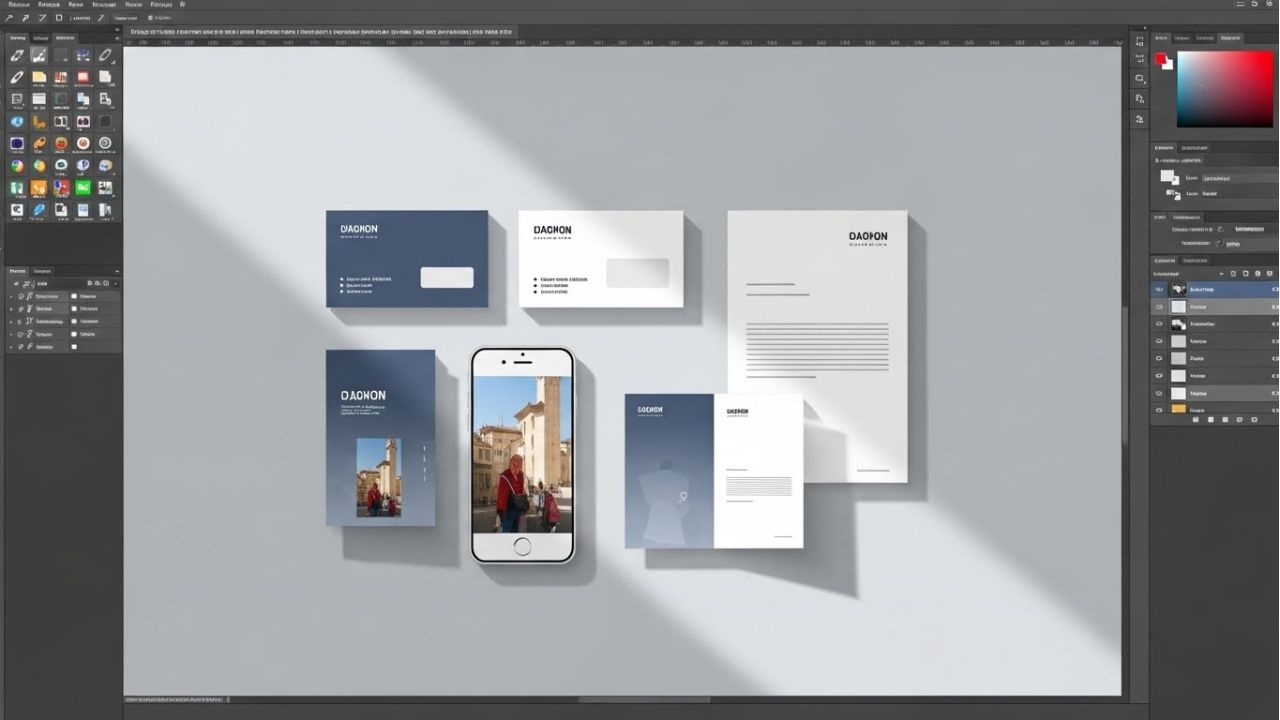
When adapting templates for clients or personal projects, always think about branding mockups in Photoshop as a flexible canvas. Use smart objects to swap logos easily, layer adjustments to tweak colors, and grouping layers to maintain an organized workflow.
These techniques ensure that every mockup you create stays consistent with brand guidelines while remaining adaptable for future projects.
By mastering these customization techniques, you’ll create mockups that are both visually stunning and brand-accurate.
Consistency enhances credibility, improves client satisfaction, and makes your designs look polished and professional. With just a few adjustments, you can transform any template into a high-quality, branded mockup that stands out and effectively communicates the intended message.
See Also: 130+ Free Logo Mockup Psd & Templates [Updated]
Enhance UI/UX Mockups with Advanced Effects
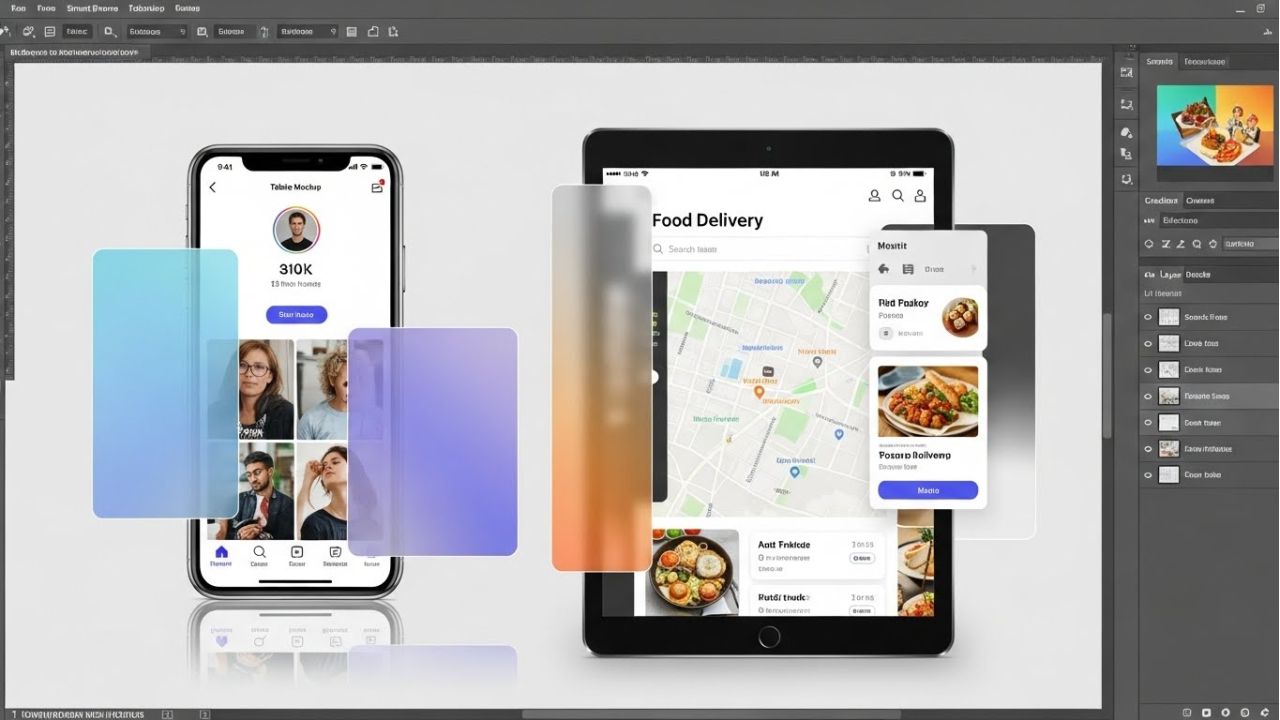
For UI/UX designers, creating mockups that feel interactive and realistic is key to impressing clients and users. Using advanced Photoshop mockup techniques for designers, you can transform plain templates into dynamic UI/UX mockup designs that showcase both creativity and functionality.
One effective method is adding realistic device frames and screen effects. By placing your design inside a smartphone, tablet, or laptop frame, you provide context and make the interface appear ready for real-world use. Then, enhance the screen’s realism by applying subtle reflections, gradients, or shadows, making it feel tactile and visually engaging.
Another powerful technique is using layer masks, gradients, and highlights to guide the viewer’s focus. For instance, a soft gradient overlay can draw attention to important interface elements, while highlights can emphasize buttons or icons. Layer masks allow precise control, so you can apply effects only where they enhance the design, keeping the rest clean and crisp.
Learning how to enhance UI mockups in Photoshop helps designers create mockups that are not only visually stunning but also functional and user-focused. By combining device frames, screen effects, and guided focus techniques, your mockups will feel immersive and professional.
Integrating these strategies into your workflow ensures your UI/UX mockup designs communicate ideas clearly, capture attention, and stand out in presentations or portfolios. With practice, these advanced Photoshop mockup techniques make every project more polished, realistic, and impactful.
Streamline Your Workflow with Photoshop Tools
Creating professional mockup designs can take time, but with the right Photoshop tools for designers, you can speed up your workflow and maintain high-quality results. Streamlining your process allows you to focus on creativity instead of repetitive tasks, making every project more efficient and polished.
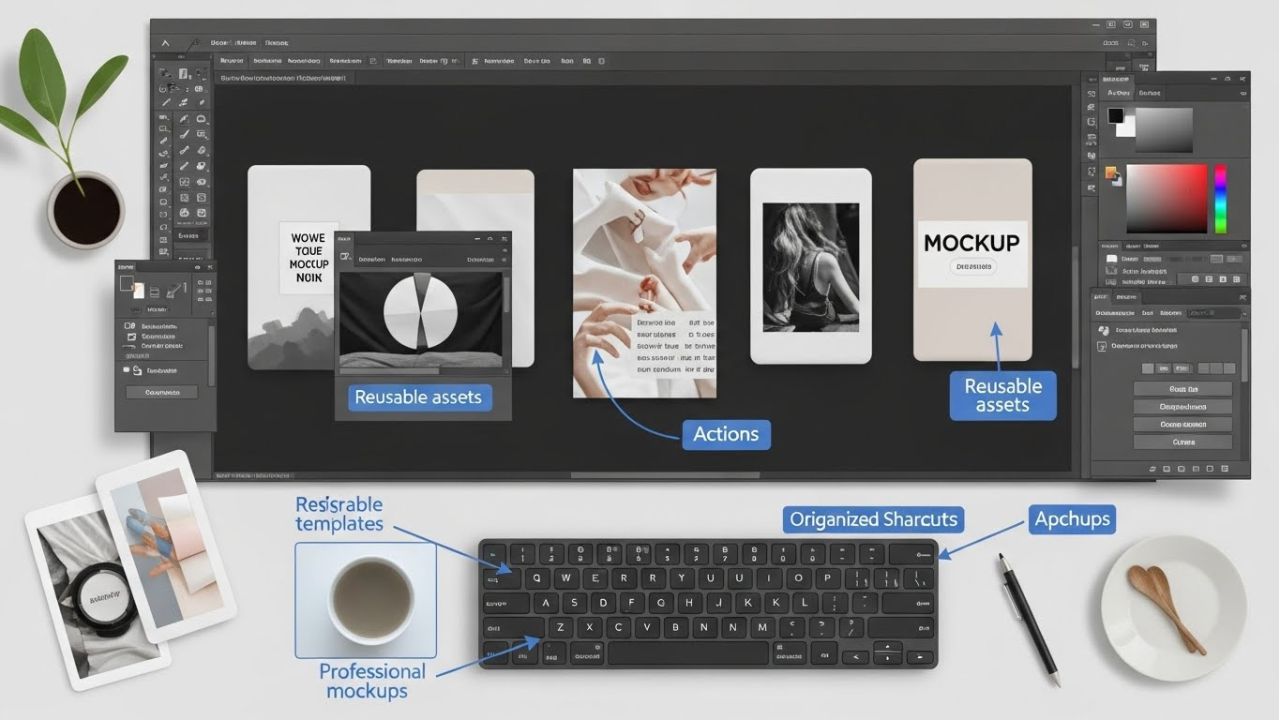
One of the best ways to save time is by using templates, actions, and reusable assets. Templates provide a ready-made structure, so you don’t start from scratch each time. Actions automate repetitive steps like resizing, applying shadows, or adding textures.
Reusable assets—like icons, buttons, and device frames—help maintain consistency across multiple mockups. Together, they form a step-by-step Photoshop mockup enhancement guide that keeps your designs professional and organized.
Additionally, integrating shortcuts and hotkeys can drastically improve your efficiency. From switching tools quickly to duplicating layers or merging elements, knowing the right shortcuts reduces clicks and saves precious minutes. Pairing shortcuts with smart layer organization ensures your Photoshop mockup workflow for professionals is smooth, flexible, and scalable.
By mastering these tools and techniques, you’ll not only produce realistic mockups in Photoshop faster but also create designs that look polished and professional every time. Streamlining your workflow lets you experiment freely, try advanced effects, and perfect every detail without wasting time.
Ultimately, combining templates, actions, reusable assets, and shortcuts gives you a faster, smarter, and more professional approach to mockup creation. With practice, these Photoshop tools for designers will become essential in transforming any blank template into a standout design.
Bonus Tips for Realistic and Professional Mockups
Even after mastering the core Photoshop mockup techniques, a few bonus tips can take your designs from good to outstanding. These quick, actionable tips help you create realistic mockups in Photoshop that impress clients and audiences alike.
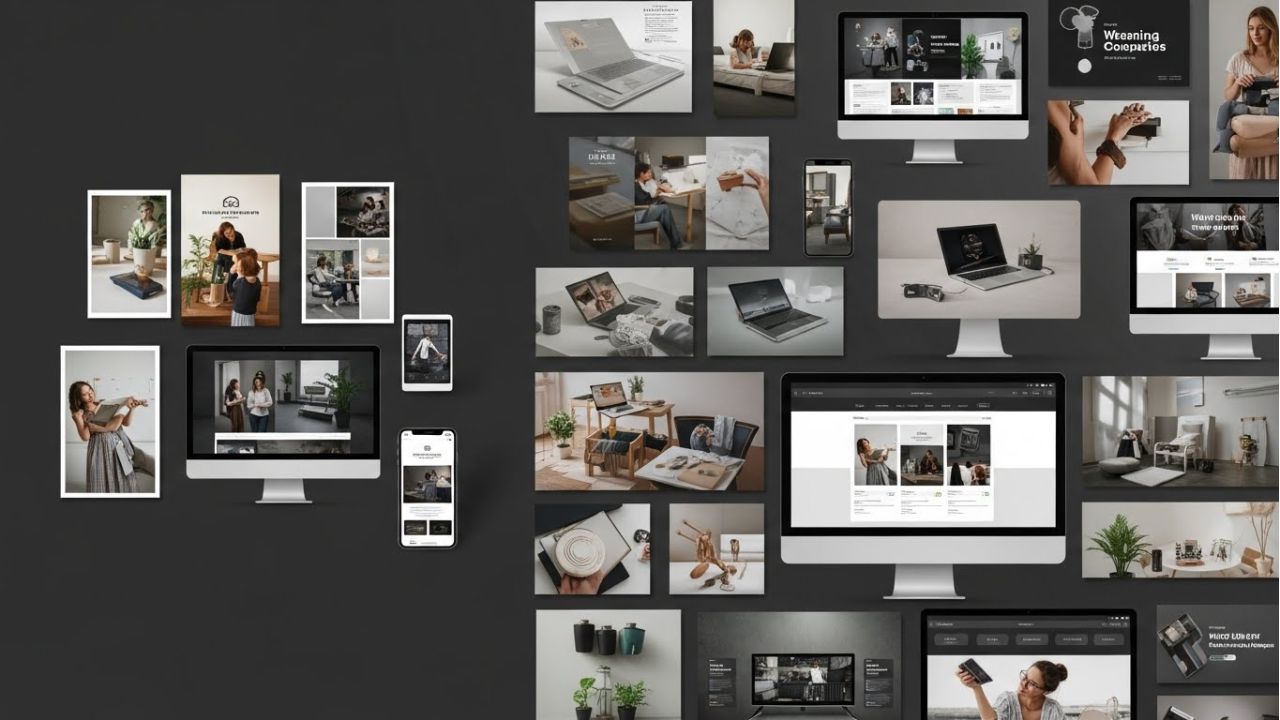
First, always test your mockups in different contexts. Check how they appear on print, mobile devices, and web screens. This ensures your design looks polished no matter where it’s displayed. Next, use high-resolution assets and textures consistently. Low-quality images can make even the best mockups look amateurish, while crisp, detailed elements instantly elevate professionalism.
Another key tip is to avoid common mistakes that reduce realism. For example, ensure shadows and highlights match the light source, align elements properly, and avoid overusing effects that distract from the main design. Small adjustments can make a big difference in how believable your mockup feels.
Additionally, don’t forget to experiment with blending modes, layer adjustments, and subtle textures. Combining these with your existing Photoshop mockup techniques—like smart objects, shadows, and customized templates—creates a cohesive and professional mockup design.
Finally, organize your layers and keep your workflow clean. A tidy workspace helps you apply changes quickly and maintain quality across multiple projects. By following these bonus tips, you can consistently produce mockups that are polished, realistic, and visually engaging, making every design stand out in portfolios, presentations, and client projects.
Wrap Up: Transform Your Mockups Like a Pro
You’ve now explored the 5 advanced Photoshop mockup techniques that can take any blank template from ordinary to extraordinary. By mastering smart objects, you gain flexibility and control.
Adding realistic shadows and lighting gives your mockups depth and dimension. Texture overlays make designs feel tangible, while customizing templates for branding consistency ensures every mockup reflects your unique style.
Finally, enhancing UI/UX mockups with advanced effects and streamlining your workflow with Photoshop tools and reusable assets allows you to work faster without compromising quality. Together, these techniques create professional mockup designs that grab attention and impress clients.
Applying these methods means your mockups won’t just look better—they’ll feel real, polished, and ready for any presentation. These techniques not only improve the look of your mockups but also make your workflow faster and more professional, helping you save time while delivering high-quality results.
With attention to detail and thoughtful design, you’ll create mockups that stand out in portfolios, client meetings, and marketing campaigns.
Now it’s your turn to put these Photoshop mockup techniques into action. Experiment with these tips, practice regularly, and transform any template into a stunning design.
With a mix of creativity, precision, and the right tools, every mockup you create can become a masterpiece. By mastering these strategies, you’re not just designing—you’re elevating your craft and making your mark as a professional designer.